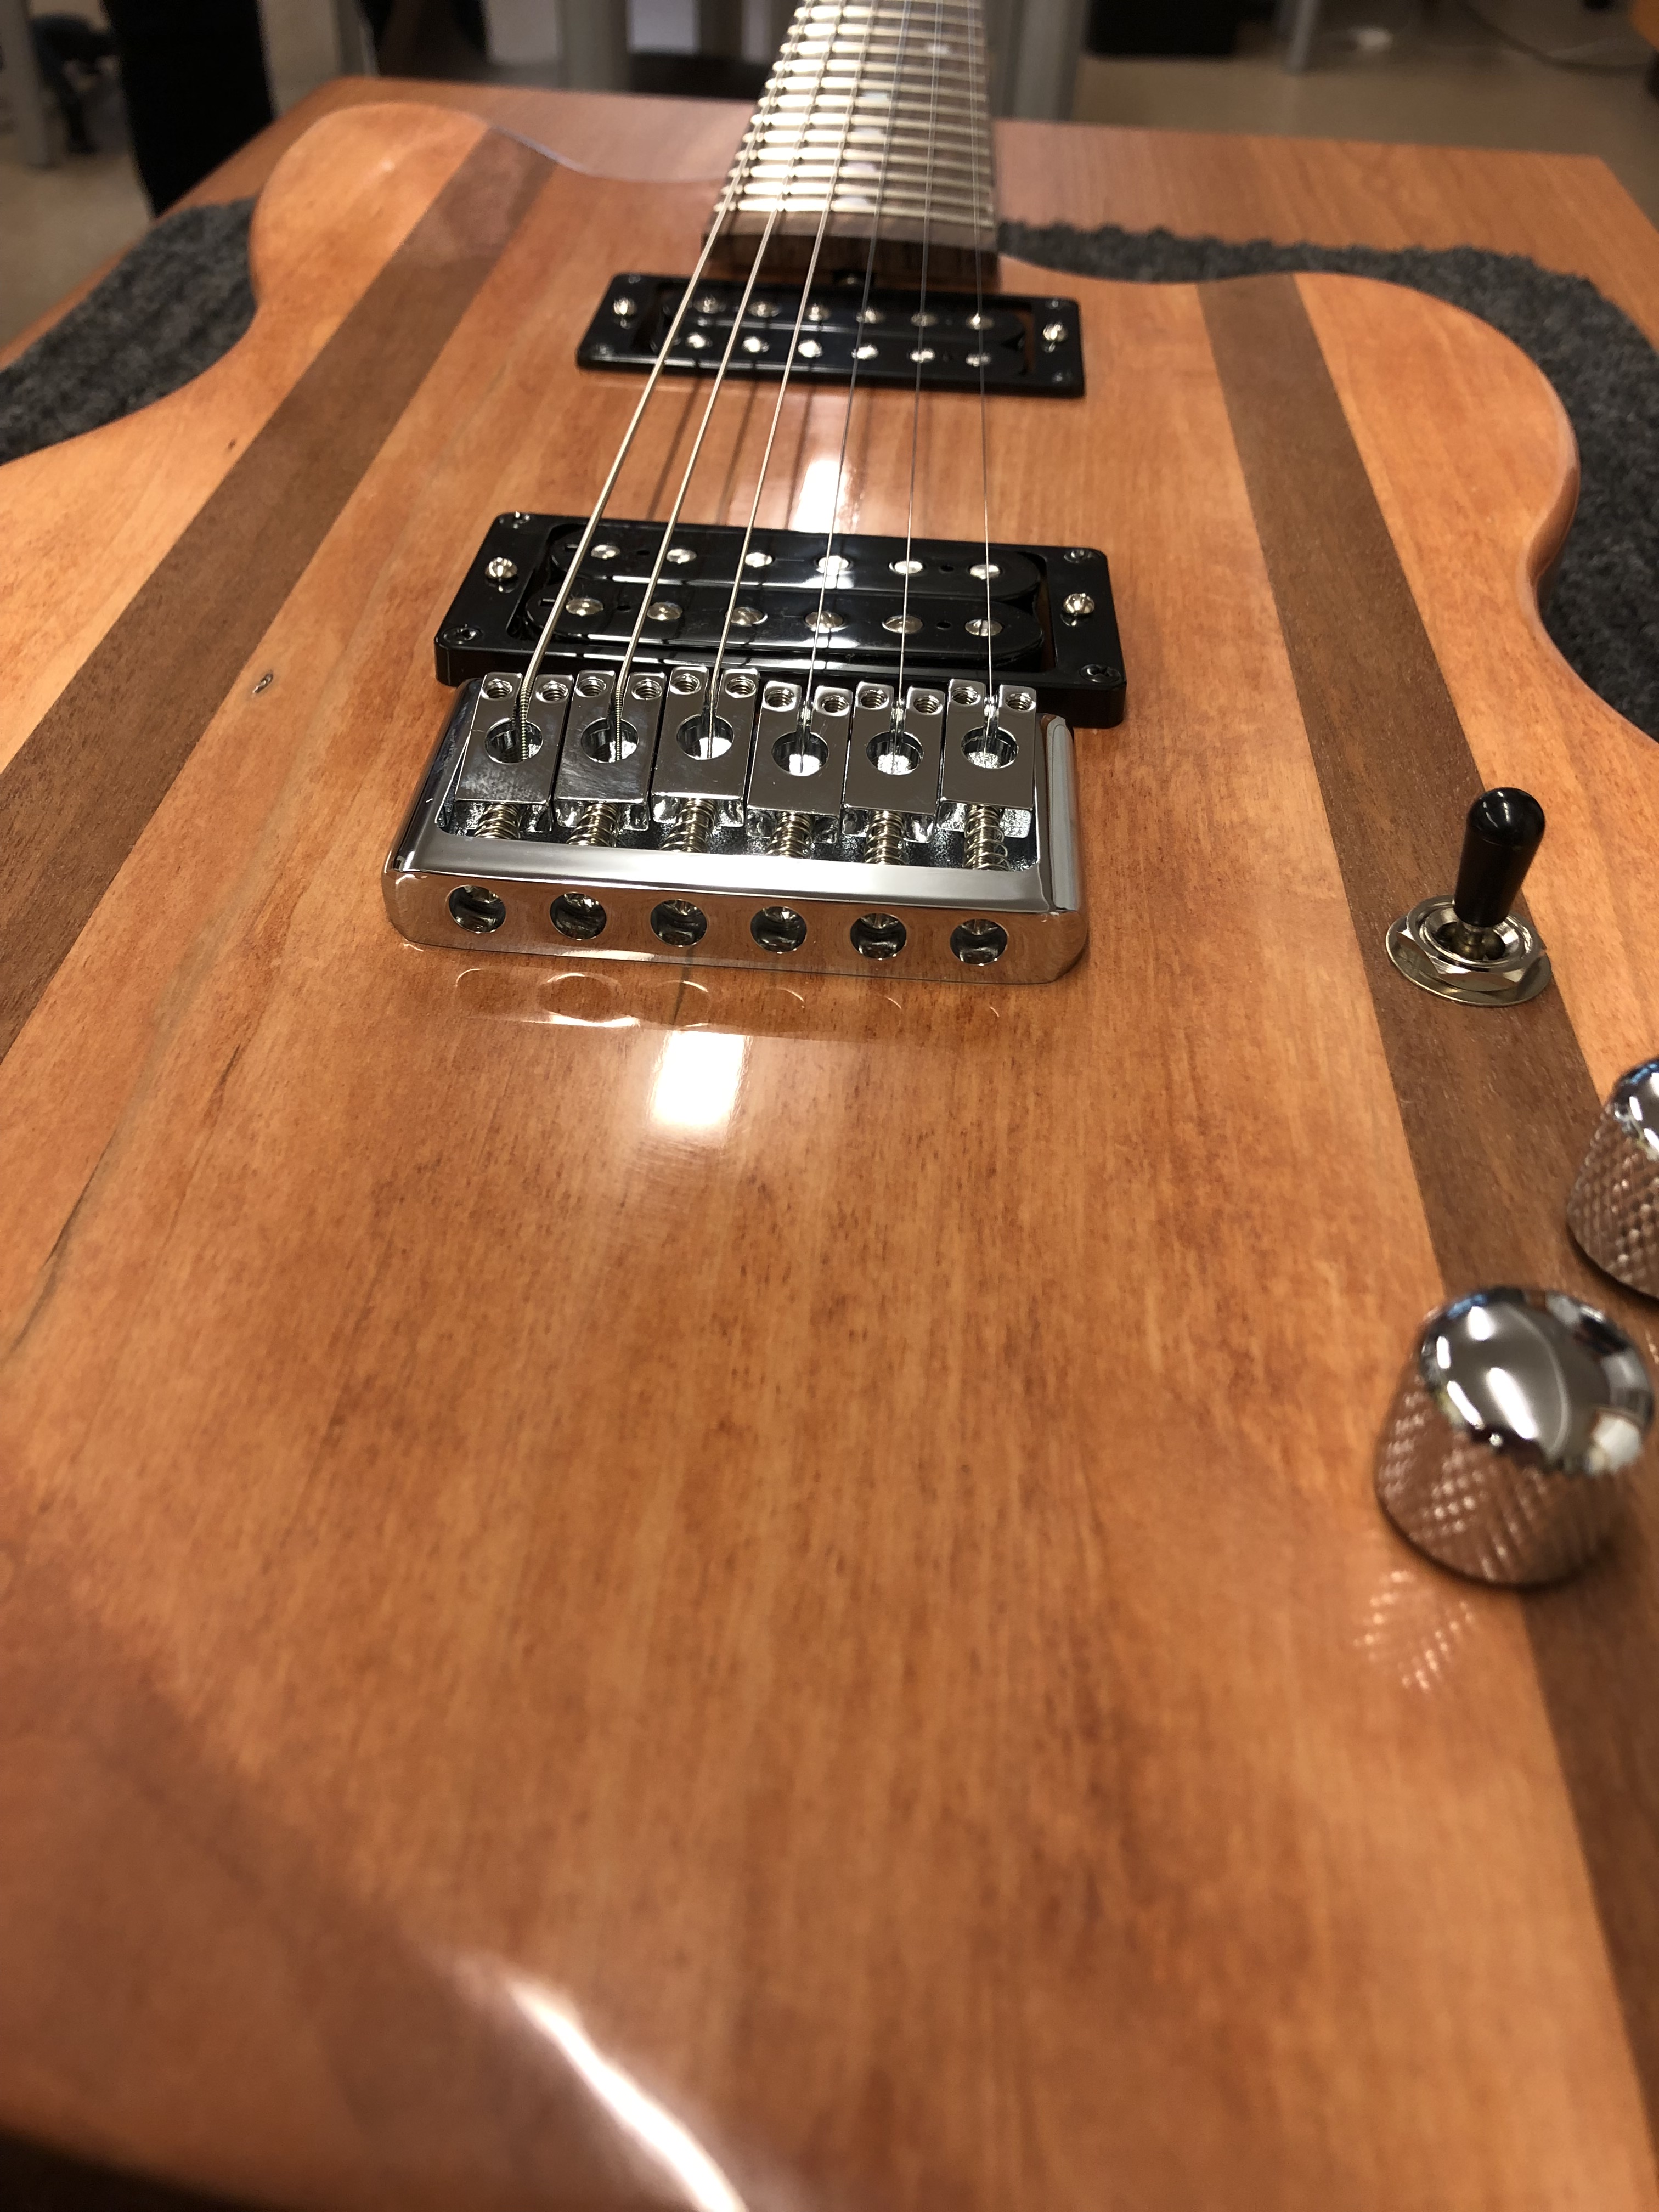
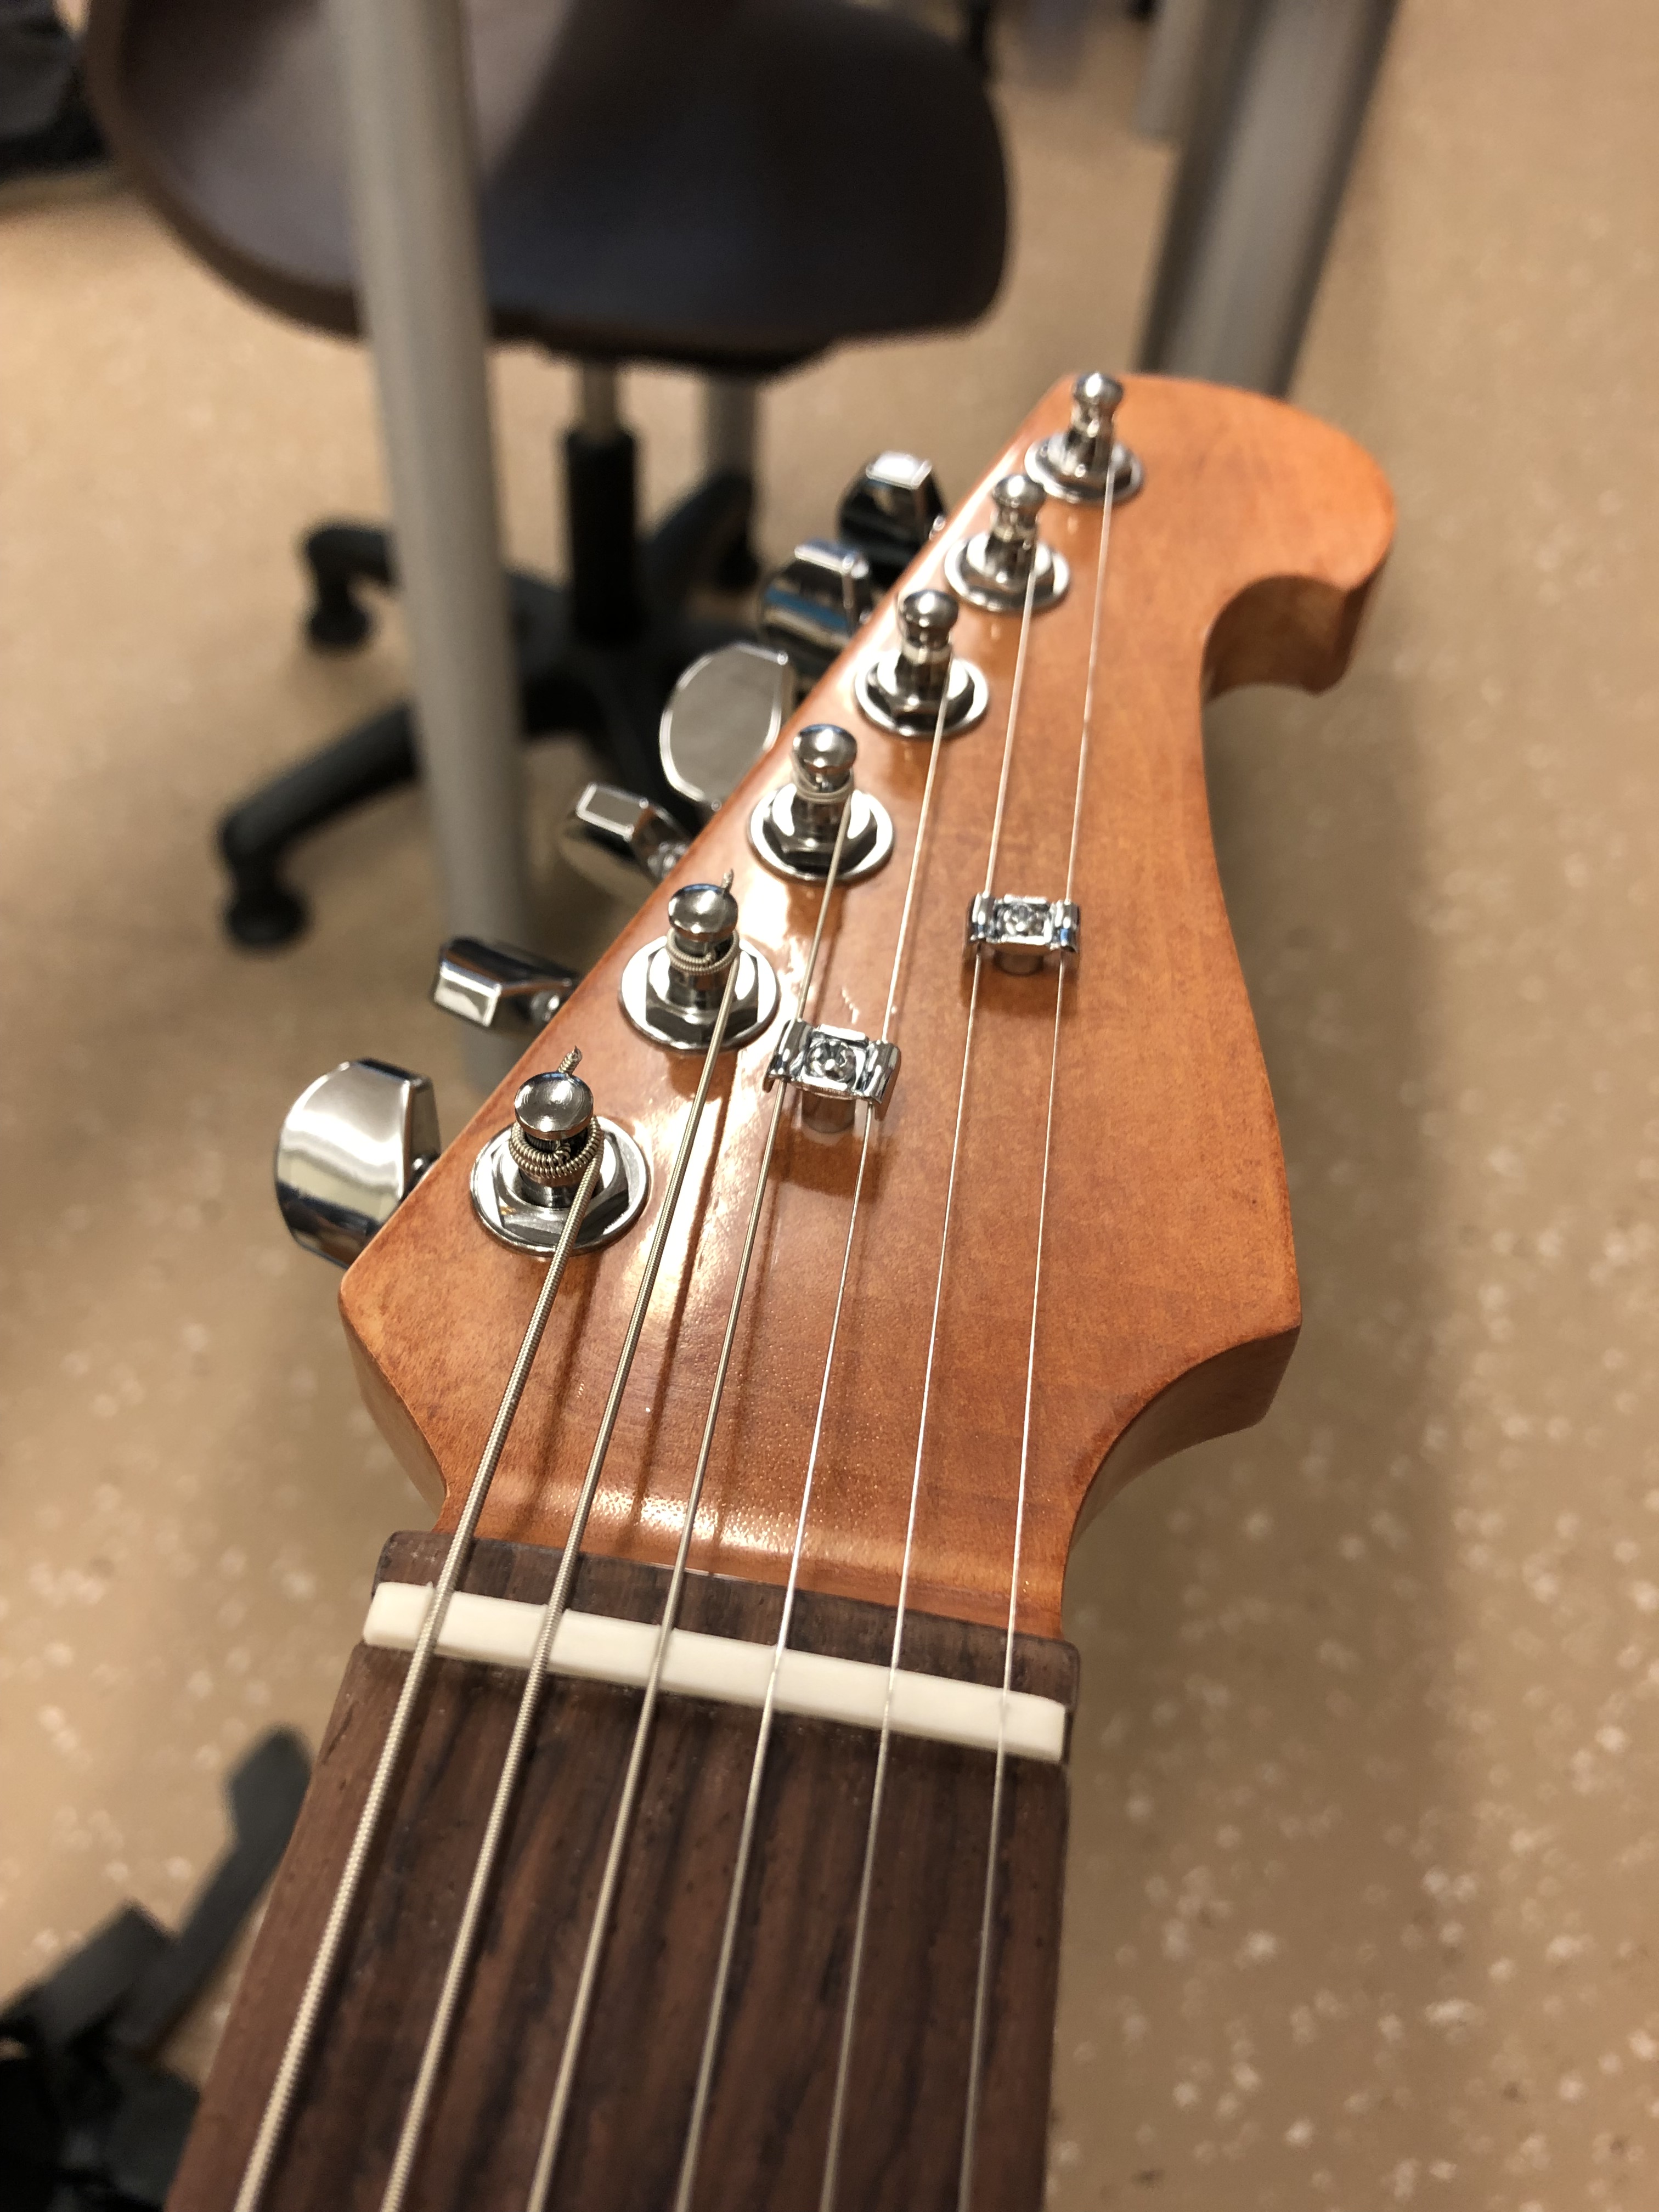
To start our final step of the guitar building process, I installed the bridge and adjusted the saddle. We started with the high E and measured out 25 1/5″ to the nut. After the first measurement was made we adjusted the other saddles to accommodate it. I then installed the strings that started in the back at the string ferrules. I then had to raise the saddles so that the strings are not all resting on one fret. We then filed the nut slots down to bring the strings to the correct height above the first fret position. Strings trees were put in to create a break angle over the nut to stop the vibration at the nut. We didn’t need to put them on the low E and B string because they already create a break angle. I then turned the strings and did intonation. Intonation is when you adjust the saddles and and strings to make sure that when I play the open E and even on the twelfth fret (next octave above) are the same note. Lucky for me there was no need to tweak any of it! And then, just like that, it was done!
The one activity that I enjoyed the most was doing the project guitar. What was really neat about working on a second guitar with the class was that we got to see and apply all that we learned to a guitar by ourselves. I also got to design the decal for the cover plate. We also got to do a swirl dip the guitar to resemble the Wells colors
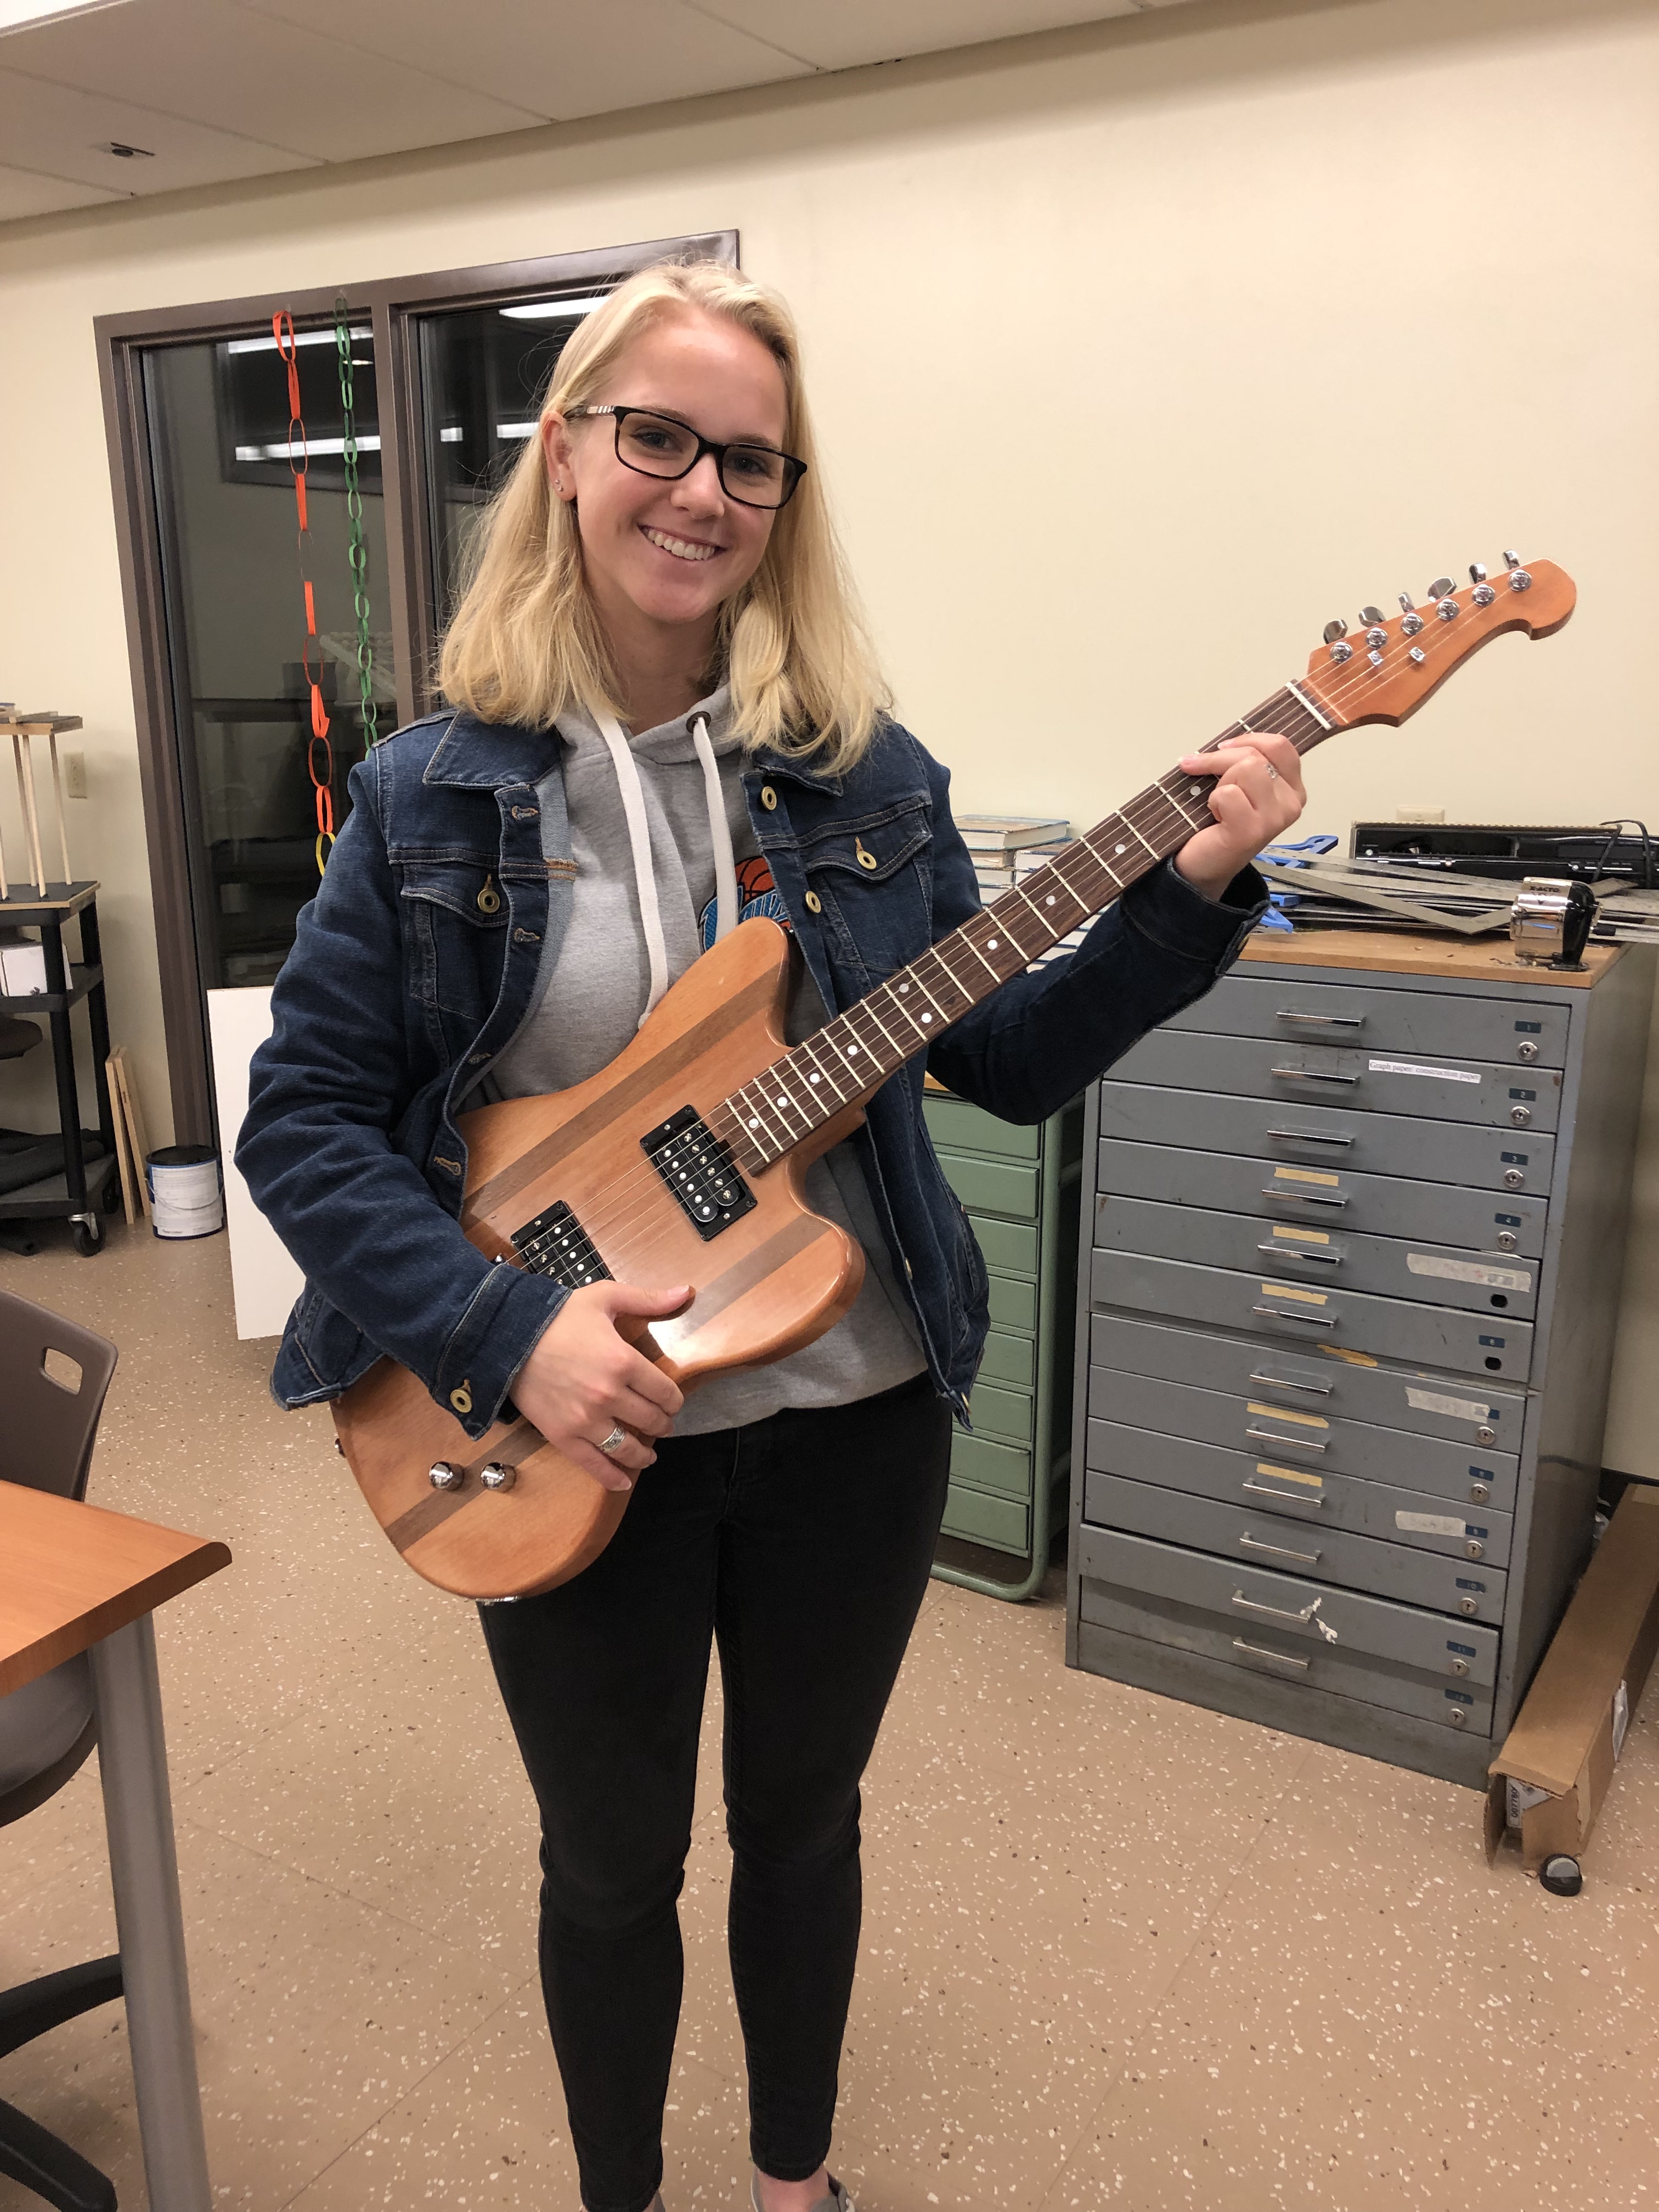
I was amazed by everything that I have created in this class. I was looking back at the first photos and how much we have done since then. We created an entire guitar!!! I love seeing the changes that we have created to it and all that I have learned. I am so thankful to get this opportunity to take this course with this teacher
